Introduction to Streamlit
After MongoDB Chat Message History, this lesson moves from terminal scripts to a browser UI. Streamlit turns Python into a local web page — install it, run a starter app, and note how the script reruns on each click. LangChain wiring is in the next lesson.
Before you start
Finish the history lessons through MongoDB first. This page has no LangChain imports — only Streamlit layout and st.chat_input.
How it works
You call widgets in plain Python — st.title(), st.chat_input() — and Streamlit serves the page at localhost:8501. Each interaction reruns the script from top to bottom.
On each click:
.py file from top to bottomst.session_state in the next lesson.Install
Activate the venv from Project Setup, then install Streamlit. See Streamlit installation for platform-specific notes.
pip install streamlit
Page layout
st.set_page_config, st.title("HTML Questions"), and st.chat_input — submit handling comes in Streamlit Chat Message History. First load shows the title and input bar (screenshot).
import streamlit as st

st.set_page_config(page_title="HTML Questions")
st.title("HTML Questions")

st.chat_input("Type a question…")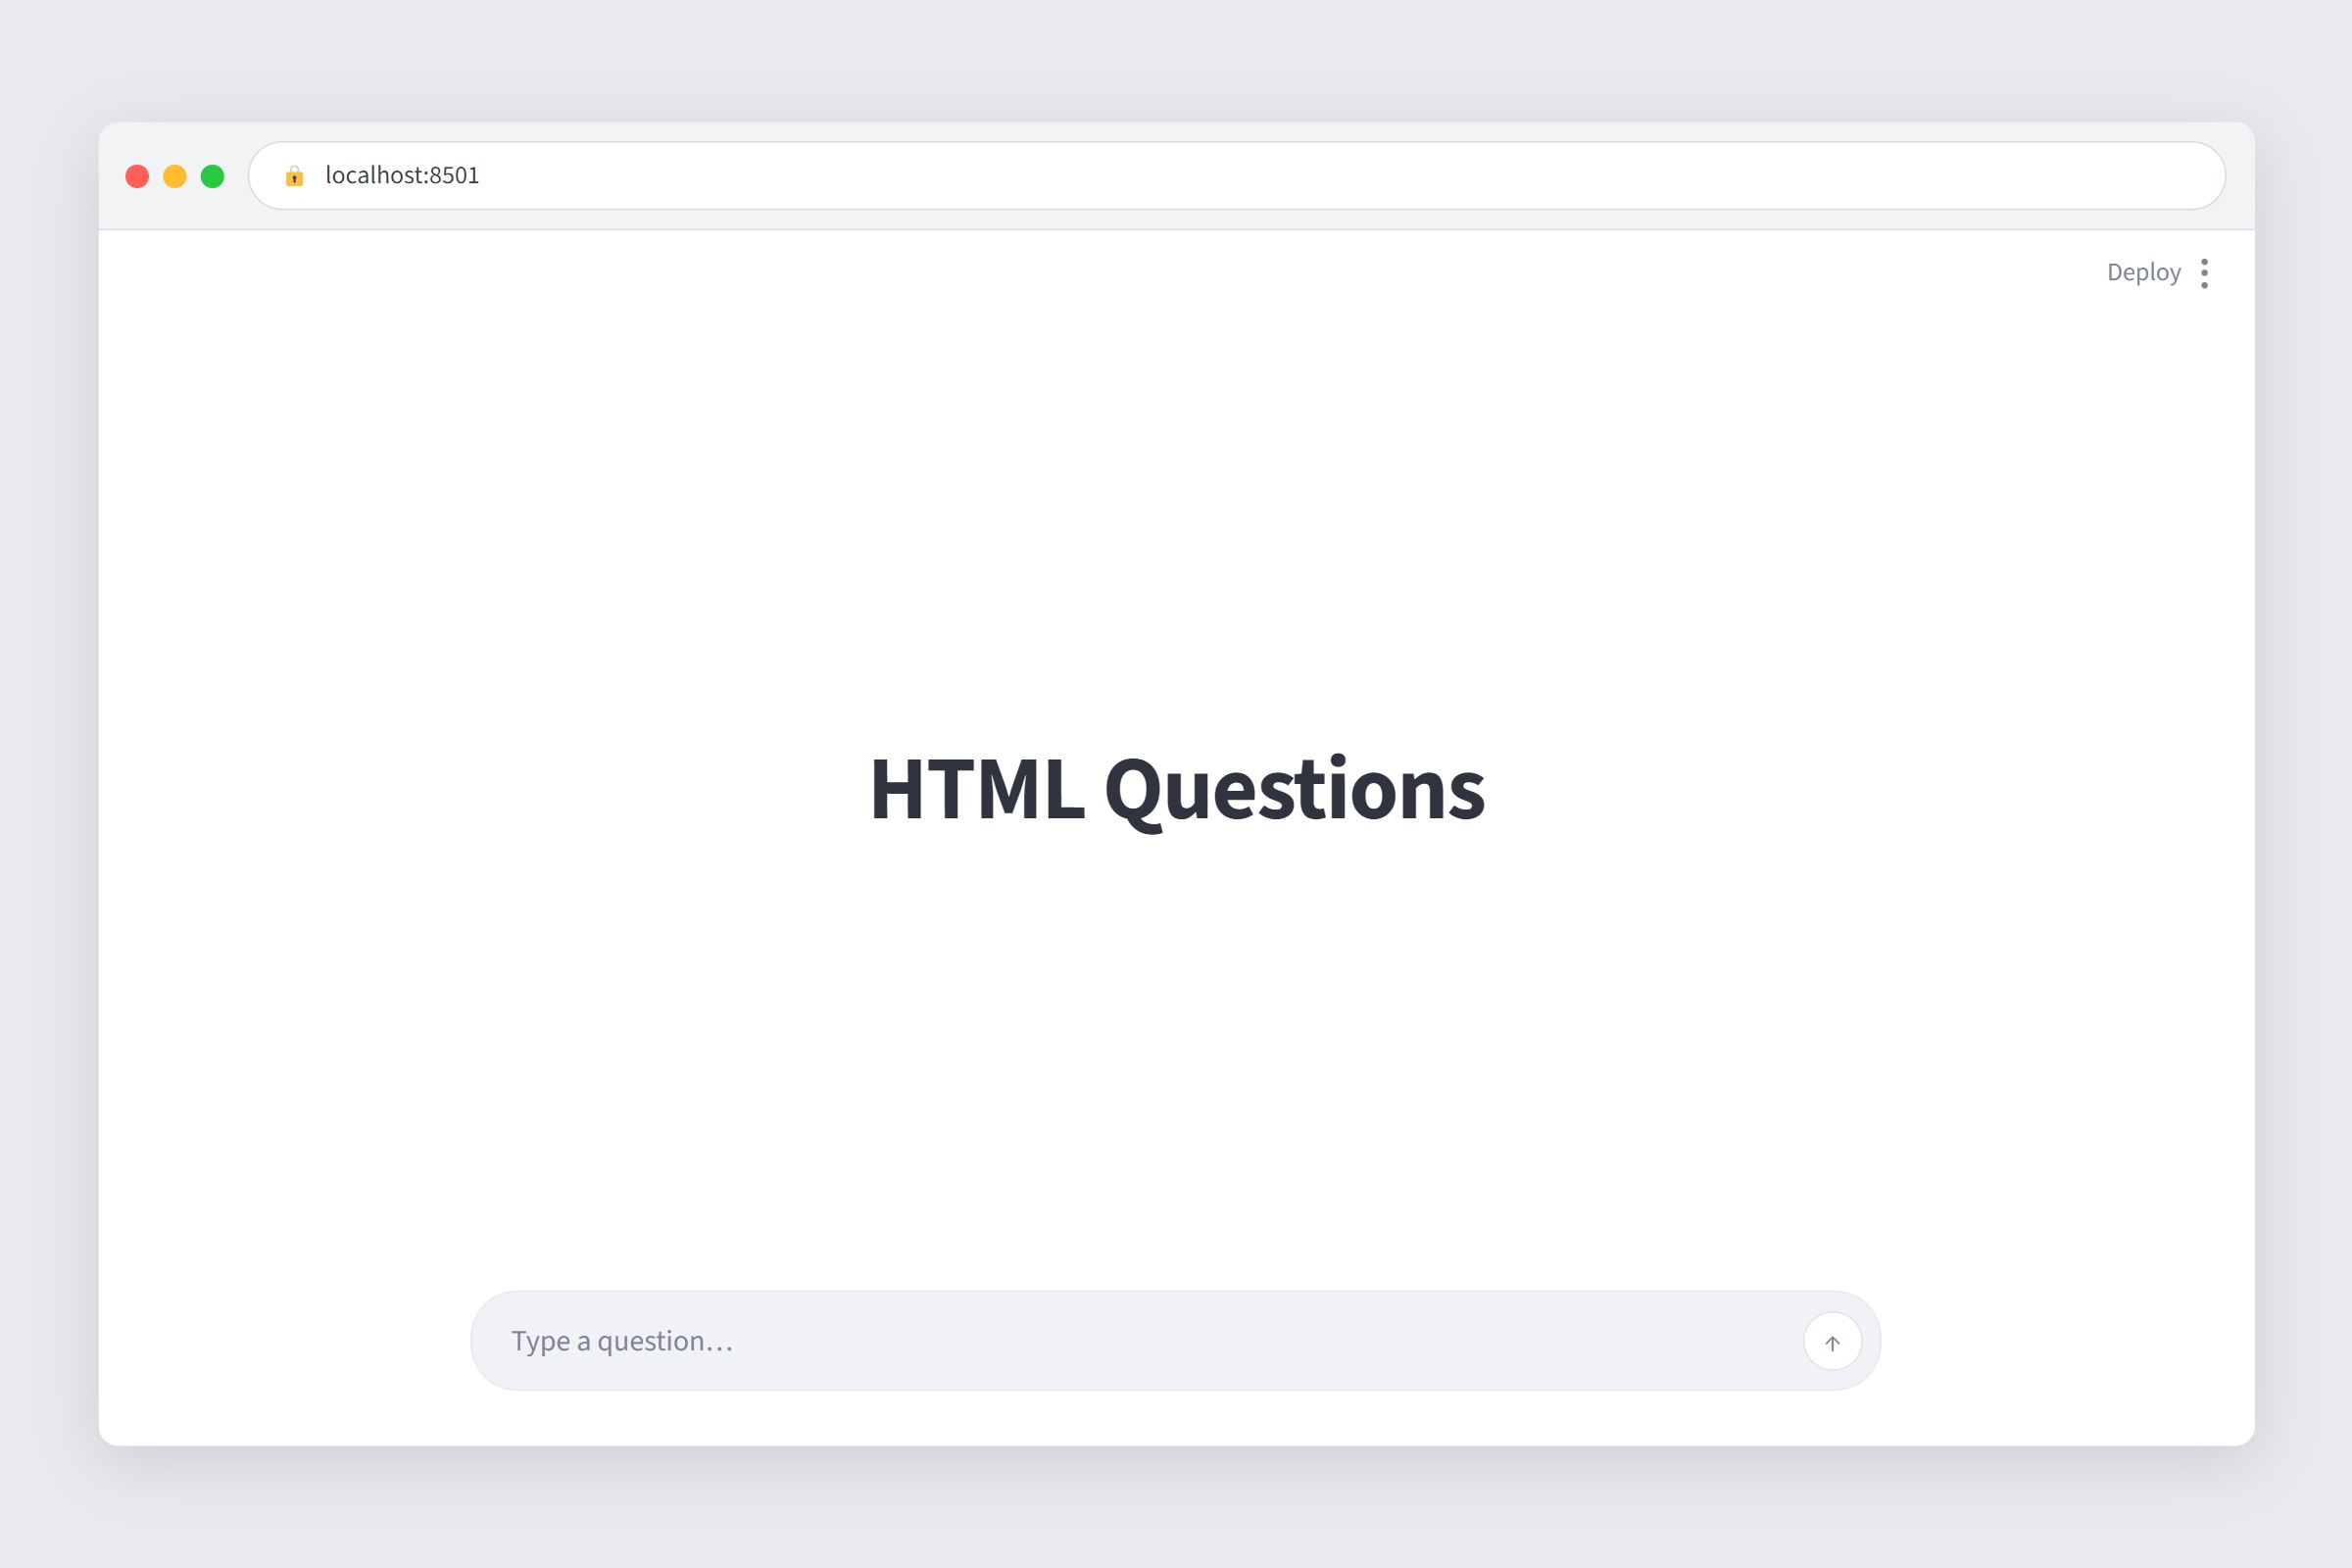
localhost:8501 — st.title("HTML Questions") and st.chat_input only. Submit handling is in Streamlit Chat Message History.The demo script
introduction_to_streamlit_demo.py adds a launcher block so python introduction_to_streamlit_demo.py starts the server. Use streamlit run in day-to-day work.
Download the code
introduction_to_streamlit_demo.py
Starter page — no LangChain yet
pip install streamlit.Run it
Activate the venv from Project Setup, then from the folder that contains the demo file:
streamlit run introduction_to_streamlit_demo.py
http://localhost:8501 if the browser does not open. Keep the terminal open while the app runs.Quick reference
streamlit run app.py— starts the local server; default URLhttp://localhost:8501.st.session_state— dict that survives reruns in one browser tab (used in the next lesson).st.set_page_config()— call once at the top for title and icon.- Install:
pip install streamlit. - Docs: Streamlit docs · Installation · Create an app.
What's Next
Next: Streamlit Chat Message History — store turns in st.session_state and handle st.chat_input submits.